by Jacquie | Nov 7, 2019 | Crochet Basics

There have been many times people have asked me to sit down with them and teach them to crochet. The problem is that half the time we don’t manage to find the right time and space!
So here, I’ve put my utmost into creating the best and super easy how-to instructions, including video and diagrams where you can feel like I’m sitting right beside you! Except it will be in your time and space!
Feel welcome to come back in your own time, after you’ve got your tools. Get yourself a nice cup of tea, make yourself comfortable, and let’s do this!
A couple of inital considerations…
First, Gather your tools!
If you don’t have your tools as yet, I suggest you take a look at my little analysis on where to find your resources! Everyone is different, but I love to help people to find the best tools availabe.
Are you left-handed?
Now, if you happen to be left handed, then I have good news! We have a lot of left-handed people in our family, and I am somewhat ambidextrous… so I will be doing all of these demonstrations from both sides… just watch the video that suit you best!
Learning how to make that first loop
That first loop can sometimes be a little difficult to negotiate! What you need to remember is that you’re making a small slip knot and not a tied knot.
I’ll simply show you in the video:
Hold your crochet hook the “right” way, then forget about it for a bit…
If you learn to hold your crochet hook the “right” way, it can be helpful in saving you time and effort in the long run, but at first you don’t want it to stop you from starting to crochet.
So, I’ll demonstrate here… Give it a go, but if it isn’t working for you, just hold the hook how it feels best.
With the other hand, you’ll be using your finger to apply tension to the yarn. As you get use to this, you’ll gradually realise how you can adjust the tension to make your crochet tighter or looser as desired.
Make your first 5 chains
Chains are the most basic stitch in crochet. Without them there is not crochet. Fortunately they are easy! I take you through the basics of chain in this video here:
Now finish off that chain to make a circle!
This is what they call a slip stitch. It’s even easier than a chain stitch. Just slip your crochet hook through the first chain you made and draw the wool through both the loops.
Now you have a circle!
A lot of patterns start off with a chain circle like this.
Just in case you need to know, when reading them on patterns, this is how they look.
5ch, 1slipstich.
Although I rarely read patterns while I’m making things with crochet, it can come in handy when you’re wanting to get insights into various patterns!
So, now let’s learn the treble stitch. This is almost like learning music, isn’t it?
I explain it all in the video here:
VIDEO of treble stitch.
Now, with the treble clef you’ll notice I needed to start with 3 chain. The reason for this is that we need to bring the height of the crochet to the same level all our treble stitches will be. Take a quick look at what happens if I try to start a treble stitch without the 3 chain. It is almost like the 3 chain replace one of the treble stiches. If you don’t look to closely, it is the same.
Where do you enter into the top chains?
This was a question that use to bother me when I was young. As I looked around at what other people were doing, I gradually came to an understanding that it all depends on the effect you want. There is no right or wrong, just different outcomes according to what you want.
Now if you watch this video, you can quickly see me doing it in different ways.
A Quick Quiz…
Now, quick quiz to see if you’re getting this.
I’m about to show you how to do a double stitch. How many chain do I need to do at the start?
Let me know your answer here:
If you got this right, you’re likely to be understanding. That was easy, you’re a crocheter already!
Now, we have the basics to make something with more complexity than you would have thought possible.
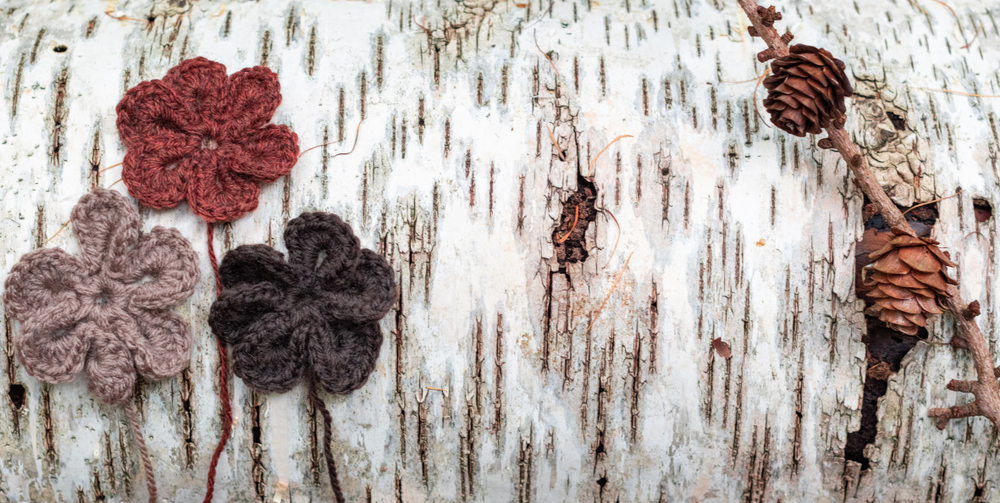
Let’s make a little flower! We’ll make a small flower with five petals. As you do each petal you’ll find that you get a little more adept with the crochet hook.
The flower
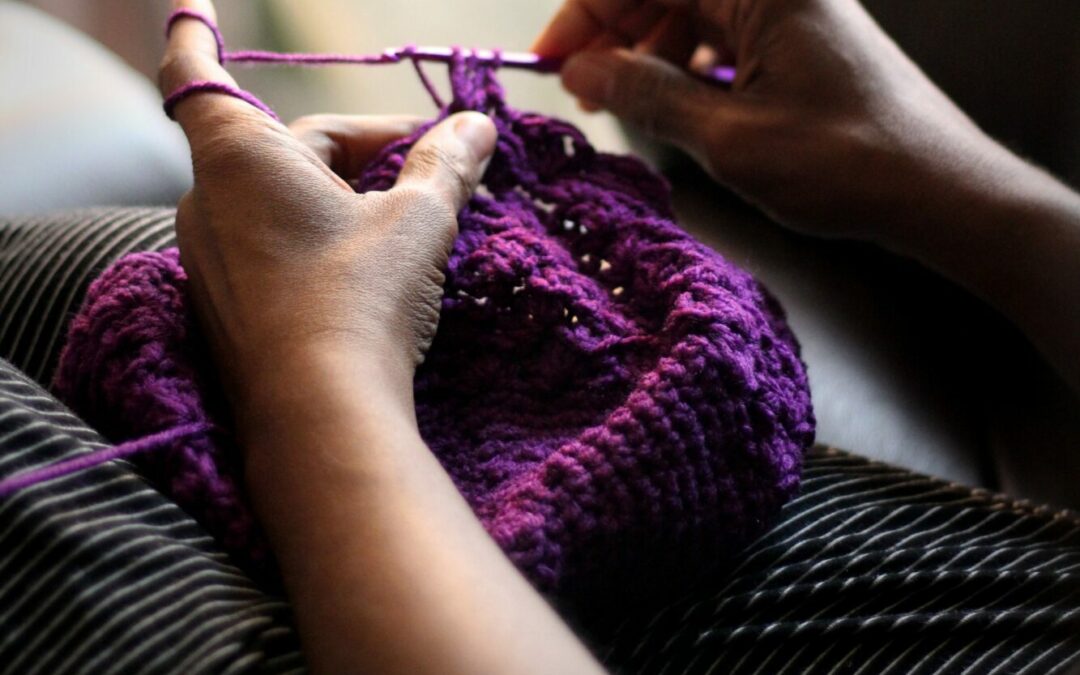
You already have the first petal in place, so let’s continue and make the other four… I suggest at this stage you try holding the crochet hook from underneath, if you were having difficulty with that at the start, and see if you can feel more comfortable with it now. Hold it a little more like you would hold chopsticks.
Watch the video to see the details.
You can see from this video, that it is quite easy to to make your way around the 5 petals.
One of the great things about crochet, is that it is so flexible in allowing us to shape it in both two and three dimensions.
Once you’ve done your petals, we can use a little more wool to add a little more “shape” or dimension. Watch this video here to see how this is done:
Of course, you may have your own ideas on how to add more dimensions.
Like in the true craft circle, I would love it if anyone has an idea on how to shape flowers that people on this page could benefit from. If you want to take a video and share, I am sure I’ll be able to share it here on your behalf! Just send your short video (not too long because it will take up too much server space), to jacquie@thewoollycreative.com
Looking foward to seeing what you achieve!
Now… for the final piece… please share your crocheted flower! I would so love to see what you did. No matter how it turned out I encourage you to take a photo and share it here. No judgements, just lots of flowers to share with others who are keen to see what other beginners or learners are achieving. Its not so much to compare or judge, but to appreciate our work.
I will make a wall of all our flowers once I have enough!
If any of these instructions weren’t clear enough for you, I would love your feedback! Just send me an email or explain in the comments!
Now… off to the next project!
by Jacquie | Nov 3, 2019 | Love of Wool
How I fell in love with Wool!

Hi I’m Jacquie and I’d like to welcome you to the Woolly Creative!
This is a space for the creative who loves natural things, craves the freedom to explore and is drawn to create. There are no rules here… just a few hints and guidelines to make things easier and sometimes a little safer. (well yes, there are occasionally a few safety issues to contend with – believe it or not!).
Here you’ll find insights into my life-time journey and love affair with Wool, and I hope to give both the beginner and seasoned crafter tips and ideas. I love the concept of the craft circle, and bouncing ideas off each other, so feel free to share your insights and experiences, no matter where you are on your journey.
I’m a keen believer in creativity! For me, creativity is about working with our feelings… being able to sense what our current context is, what our resources and tools are, and utilising them to find ways to live more fluidly. For me it is the art of combining functionality with aesthetics.
Creativity is the core skill we all need no matter what we’re doing. Even the most mundane and boring jobs will come alive if creativity is applied.
To develop our creativity, it can often be useful to develop an interest with like-minded others, where you can apply yourself to creating something that is beautiful, functional and unique. Then of course to share your creations!
In essence, this is what this website is about… to give you a way to exercise your creative muscles, while having fun, and applying yourself to making something both functional and beautiful… using wool.
My Story
When I was about 7 years old, my mother who had been knitting jumpers for our family decided to cast on about 20 stitches for my sister and me to make our first scarves. Well actually before that there was learning to chain stitch with our fingers, and using one one of those French knitting spools or a Knitting Nancy… and both of us made very long chains!
After that first scarf, I moved onto a jumper, and for me that was a great achievement!
Then, when we moved to another place, we had the opportunity to meet a lady who lived up the road. She was an amazing lady who had lived an amazing life, and loved to share stories. Her name was Mrs Ellis. She had a confidence in all pursuits, and as she knew how to crochet, and my sister and I did not, she decided to teach us by helping us make quite a challenging project… a crocheted swan for our mother. It was quite a delicate project, and if I recall correctly, Mrs Ellis ended up finishing these two crocheted swans in order for them to be ready in time.
When I look back the idea of creating something that was both useful and beautiful was just amazing. Over the years I made quite a number of knitted and crocheted jumpers, blankets and small items.
As time went on and I had children, I suddenly came across felt making. That was 20 years ago now! My introduction to it was seeing some dry felting sculptures as small toys for children. I quickly started searching to source wools for my new focus.
I found myself going to a country town in a wool district of Victoria, and asking around for wool rovings. At the local craft store as I enquired, they gave me the name of a lady and her address! I eagerly followed their instruction and found Betsy just on her way out to an appointment. Nevertheless, as the subject was wool, she very graciously delayed her exit and spoke to me about the rugs she was making and showed me some of her wool supplies.
Obviously passionate about wool, and seeing how intrigued I was, this lovely lady insisted on giving me a rather large bag of assorted rovings and colours. I had described the toys I planned to make, and this wool would keep me busy for months!
As I learnt more and experimented with both dry felting and wet felting techniques, I was amazed at the beautiful sculptures and pictures I could make.
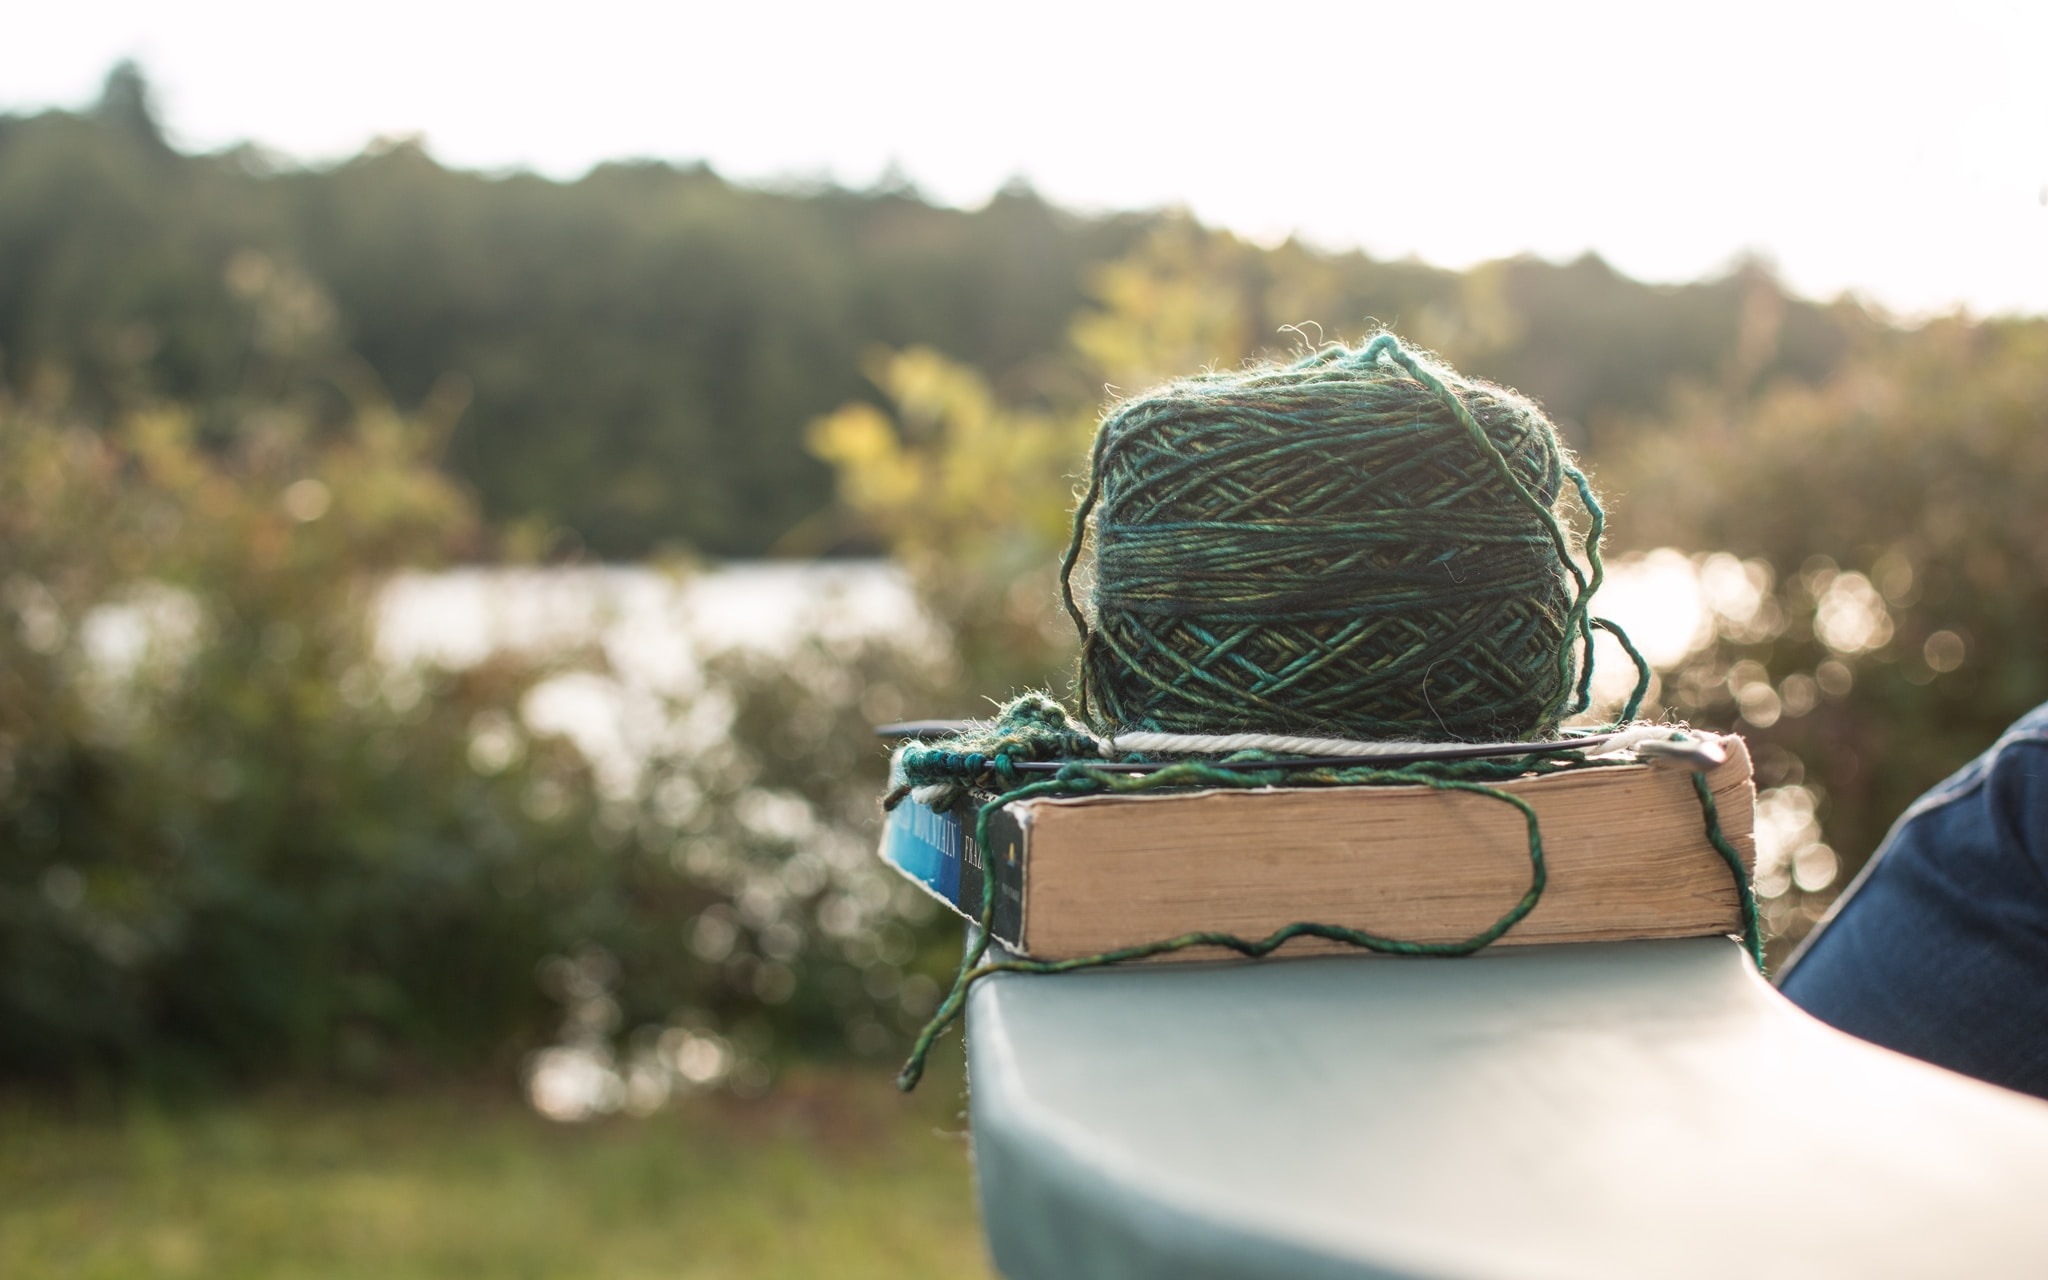
There’s something about Wool
Of course, the central theme for all of these interests is wool. Whenever I have searched for the right colour yarn or fibre, I have always found myself being drawn to natural, 100% wool. It just felt better. Somehow it is both comforting and expansive at the same time.
Gradually, I found out more about different ways to make felted objects using combinations of both wet felting and dry felting as well as other techniques.
As time went on, due to my interest (and being the main person showing up each week), I was asked to take over the running of the craft group at my children’s school, where parents made handmade toys and other beautiful pieces for free. Craft group supplied the materials and the parents would make 2 items… one for themselves (such as a toy for their child), and one for Craft Group to sell at markets to cover the costs of materials and to fund raise for the school. It was a great formula that was quite popular, and enabled parents to give different craft modalities a go, without having to spend money on buying materials to get started.
I found myself starting to dye a lot of wool and felt for the craft group to keep up with the demands. As I did this I realised that the supply of coloured wool and felts were actually more efficient at raising funds than the creation of hand-sewn and felted toys and other creations.
Dyeing the wool became almost a ritual and I became quite good at getting the exact colour I was after by mixing the dyes and controlling how much dye was absorbed. Whether making “wool roving paints” for my next felt painting, or matching the hair colour of a doll, I loved the sense of possibilities. It almost reflected my approach to gardening, where I seem to focus much more on the composting and building of soil more than the garden itself.
As I dyed the wool I would imagine all sorts of beautiful possibilities for every hue that came out of the pot… and as we sold more and more colourful possibilities, it was a little hard for me to keep up!
From there I found myself asked to hold a number of workshops that focussed on wet felting, as it became one of the most popular activities.
Learning how to accept our Current Contexts
One of the most fulfilling aspects of these workshops and craft groups was seeing people learn to accept and appreciate what they created, rather than judge or minimise it. No matter what people came up with, there was always something to admire… both in what they did and the qualities of the wool that became apparent.
For too many of us, we have been taught to judge our own work harshly, which I see as a habit that can decrease our creative output. Life has taught me, where there is less creativity, there will also be more problems.
In our Craft groups and workshops I held this principle of not judging our work or creations, and simply watching them form and enjoying the process. Each creation was simply a stepping stone to more possibilities and successes.
Learning How to Compromise
Wool work, especially felt making, has this wonderful aspect of being something that will never turn out completely as expected. There is always a certain aspect of the wool that will shrink or combine in unexpected ways. This is an opportunity to learn how to work with compromise, and how to negotiate what we want by experimentation. Then there is the delighted surprise of seeing something we would not have thought of, thanks to the input of the wool.
We use to jokingly take credit for some of the amazing stuff the wool did, but mostly we just stood back in awe.
Then there are the times we sometimes work hard. Taking action on the wool, and seeing how it responds, and then find a way to make it work. It can be a bit of a push-pull situation, but it heightens our ability to listen and tune in.
Although most artists will have this type of interaction with their tools and mediums, I find wool both a more challenging medium as well as a great contributor to ideas. It is as though the wool itself has to have a say in the final outcome of each piece.
Life is also like that, and I see the art of learning how to work with wool as lessons on how to creatively compromise in life.
Let’s Develop our Creativity!
Being creative is something inherent to all of us, and I love to inspire others to allow their creativity to spring forward. Wherever there are problems in our lives or in the world, that is where there is a block in creative thinking. That is why I love to exercise our creative muscles – it leads to better living!
Natural wool and colours brought together in wool crafts allow people to engage creatively in a new way that puts aside judgement and criticism. For me it isn’t an exact science, it is more of a blending and adjusting to make do with what you have and do your best with it.
I invite you to try out the tutorials in this website, and find ways to express yourself through wool. Please feel welcome to share what you do, as I love to see what others are creating.
If you ever need a hand or have any questions, feel free to use the comments below, and I will be more than happy to help you out.
All the best,
Jacquie
I would like to acknowledge all of the women (and a couple of men) who shared their wisdom and insights into wool, which I now lovingly share with others.