How to crochet for the absolute beginner!

There have been many times people have asked me to sit down with them and teach them to crochet. The problem is that half the time we don’t manage to find the right time and space!
So here, I’ve put my utmost into creating the best and super easy how-to instructions, including video and diagrams where you can feel like I’m sitting right beside you! Except it will be in your time and space!
Feel welcome to come back in your own time, after you’ve got your tools. Get yourself a nice cup of tea, make yourself comfortable, and let’s do this!
A couple of inital considerations…
First, Gather your tools!
If you don’t have your tools as yet, I suggest you take a look at my little analysis on where to find your resources! Everyone is different, but I love to help people to find the best tools availabe.
Are you left-handed?
Now, if you happen to be left handed, then I have good news! We have a lot of left-handed people in our family, and I am somewhat ambidextrous… so I will be doing all of these demonstrations from both sides… just watch the video that suit you best!
Learning how to make that first loop
That first loop can sometimes be a little difficult to negotiate! What you need to remember is that you’re making a small slip knot and not a tied knot.
I’ll simply show you in the video:
Hold your crochet hook the “right” way, then forget about it for a bit…
If you learn to hold your crochet hook the “right” way, it can be helpful in saving you time and effort in the long run, but at first you don’t want it to stop you from starting to crochet.
So, I’ll demonstrate here… Give it a go, but if it isn’t working for you, just hold the hook how it feels best.
With the other hand, you’ll be using your finger to apply tension to the yarn. As you get use to this, you’ll gradually realise how you can adjust the tension to make your crochet tighter or looser as desired.
Make your first 5 chains
Chains are the most basic stitch in crochet. Without them there is not crochet. Fortunately they are easy! I take you through the basics of chain in this video here:
Now finish off that chain to make a circle!
This is what they call a slip stitch. It’s even easier than a chain stitch. Just slip your crochet hook through the first chain you made and draw the wool through both the loops.
Now you have a circle!
A lot of patterns start off with a chain circle like this.
Just in case you need to know, when reading them on patterns, this is how they look.
5ch, 1slipstich.
Although I rarely read patterns while I’m making things with crochet, it can come in handy when you’re wanting to get insights into various patterns!
So, now let’s learn the treble stitch. This is almost like learning music, isn’t it?
I explain it all in the video here:
VIDEO of treble stitch.
Now, with the treble clef you’ll notice I needed to start with 3 chain. The reason for this is that we need to bring the height of the crochet to the same level all our treble stitches will be. Take a quick look at what happens if I try to start a treble stitch without the 3 chain. It is almost like the 3 chain replace one of the treble stiches. If you don’t look to closely, it is the same.
Where do you enter into the top chains?
This was a question that use to bother me when I was young. As I looked around at what other people were doing, I gradually came to an understanding that it all depends on the effect you want. There is no right or wrong, just different outcomes according to what you want.
Now if you watch this video, you can quickly see me doing it in different ways.
A Quick Quiz…
Now, quick quiz to see if you’re getting this.
I’m about to show you how to do a double stitch. How many chain do I need to do at the start?
Let me know your answer here:
If you got this right, you’re likely to be understanding. That was easy, you’re a crocheter already!
Now, we have the basics to make something with more complexity than you would have thought possible.
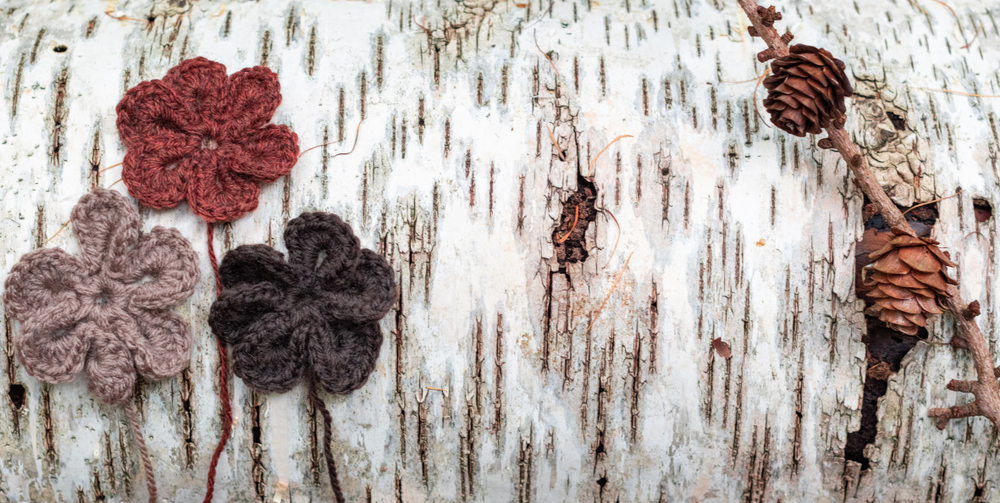
Let’s make a little flower! We’ll make a small flower with five petals. As you do each petal you’ll find that you get a little more adept with the crochet hook.
The flower
You already have the first petal in place, so let’s continue and make the other four… I suggest at this stage you try holding the crochet hook from underneath, if you were having difficulty with that at the start, and see if you can feel more comfortable with it now. Hold it a little more like you would hold chopsticks.
Watch the video to see the details.
You can see from this video, that it is quite easy to to make your way around the 5 petals.
One of the great things about crochet, is that it is so flexible in allowing us to shape it in both two and three dimensions.
Once you’ve done your petals, we can use a little more wool to add a little more “shape” or dimension. Watch this video here to see how this is done:
Of course, you may have your own ideas on how to add more dimensions.
Like in the true craft circle, I would love it if anyone has an idea on how to shape flowers that people on this page could benefit from. If you want to take a video and share, I am sure I’ll be able to share it here on your behalf! Just send your short video (not too long because it will take up too much server space), to jacquie@thewoollycreative.com
Looking foward to seeing what you achieve!
Now… for the final piece… please share your crocheted flower! I would so love to see what you did. No matter how it turned out I encourage you to take a photo and share it here. No judgements, just lots of flowers to share with others who are keen to see what other beginners or learners are achieving. Its not so much to compare or judge, but to appreciate our work.
I will make a wall of all our flowers once I have enough!
If any of these instructions weren’t clear enough for you, I would love your feedback! Just send me an email or explain in the comments!
Now… off to the next project!